本篇我们使用Maven构建我们的SSM项目,并简要介绍项目的配置。
工具
JDK 8
IDEA 2017.2.6专业版(通过学生邮箱认证的)
Maven 3.5.0
Tomcat 8.5
项目源文件地址
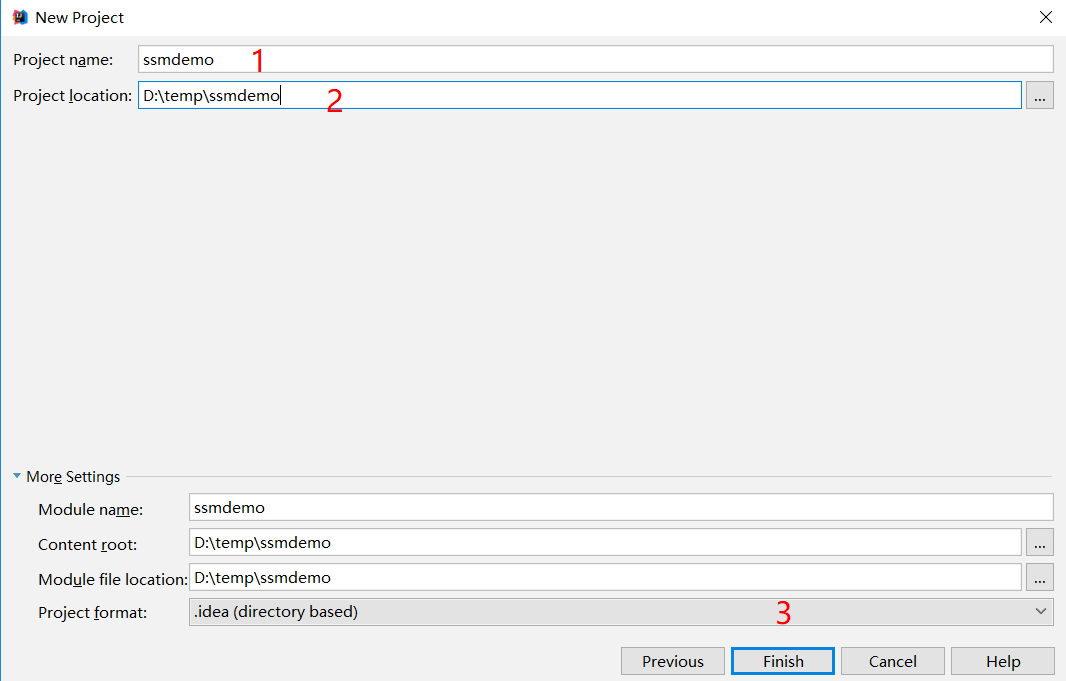
创建Maven WebApp
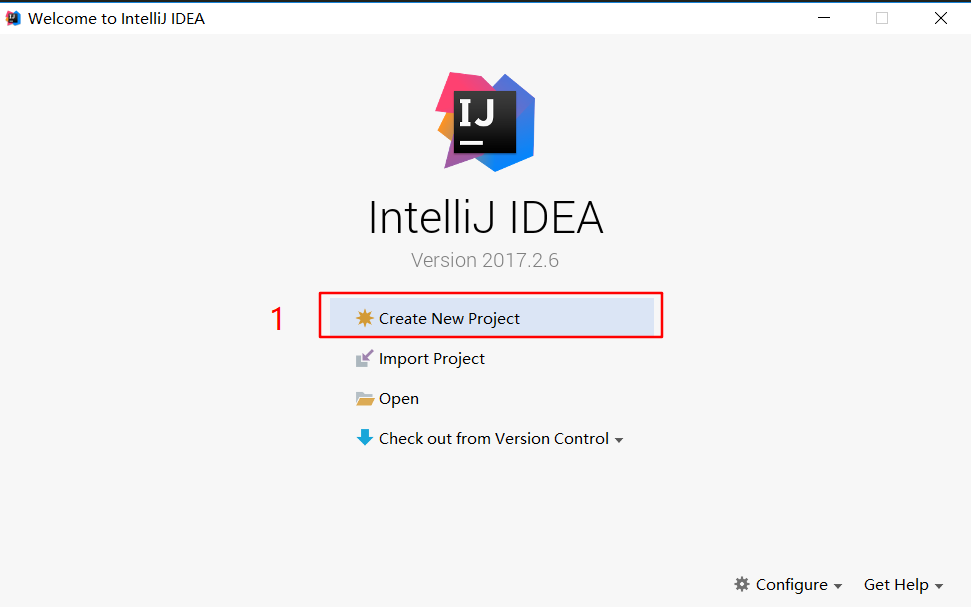
打开IDEA
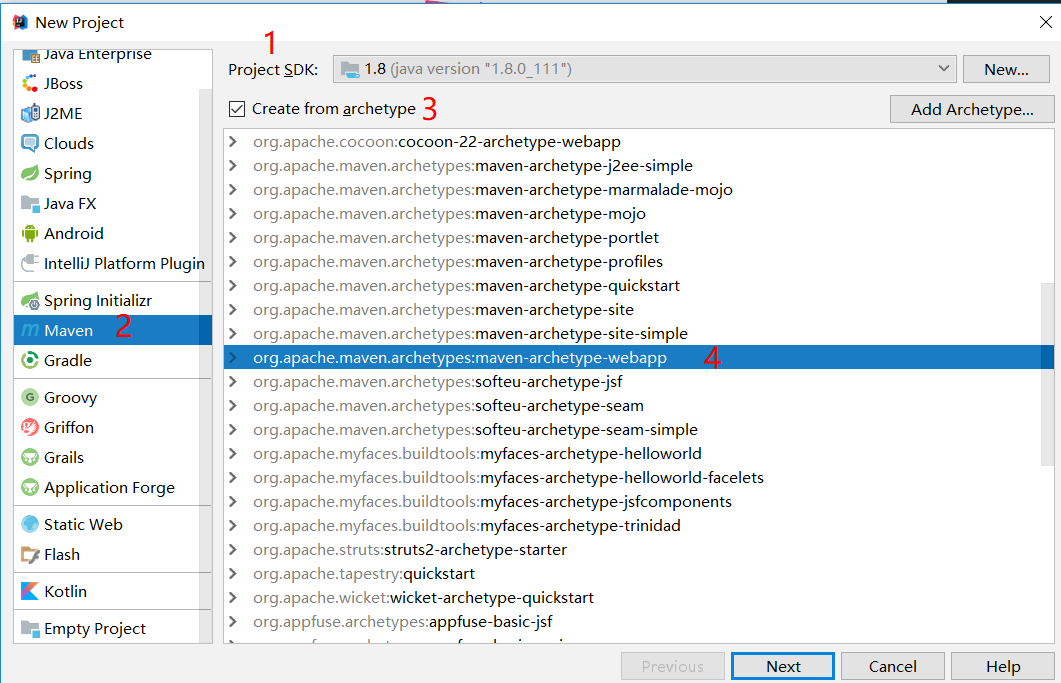
选择项目类型
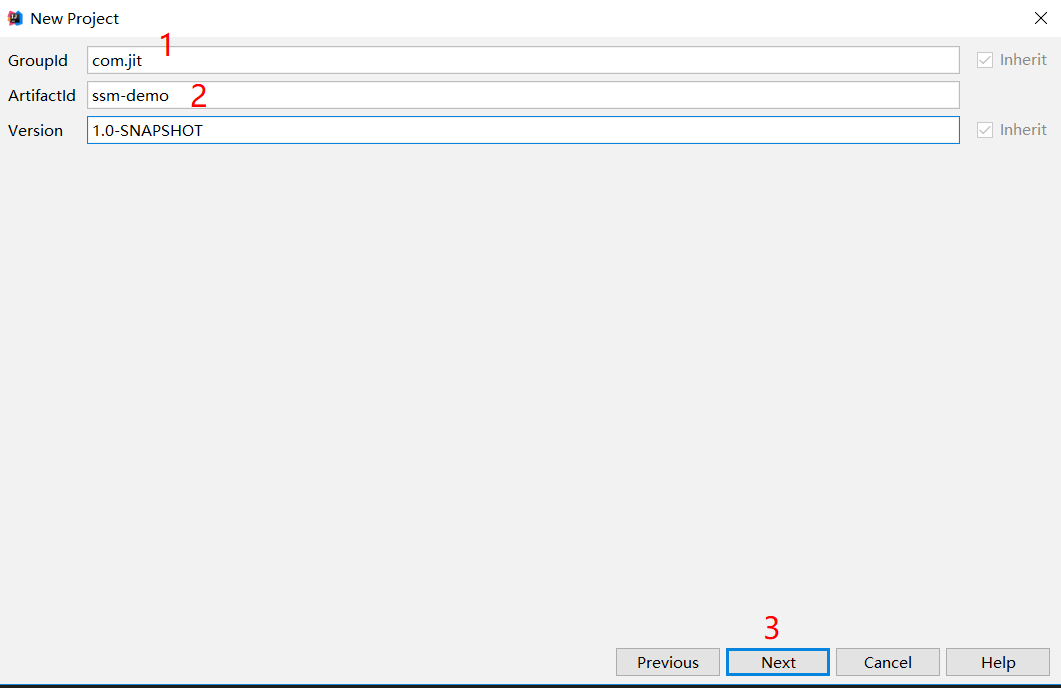
指定项目坐标
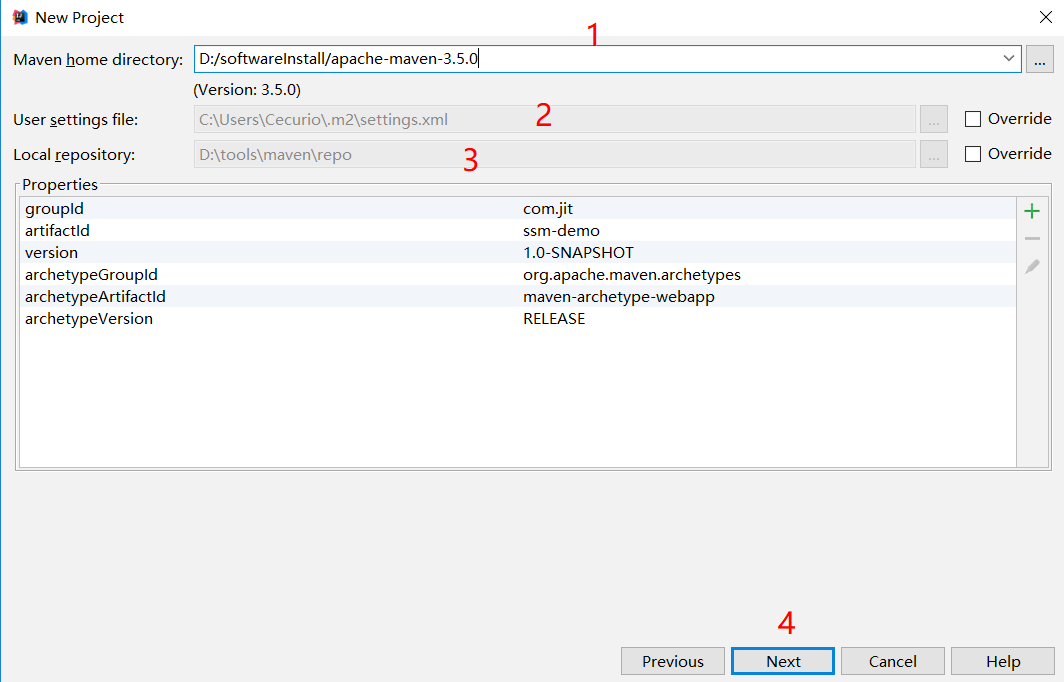
配置Maven相关参数
设置项目本地存放位置
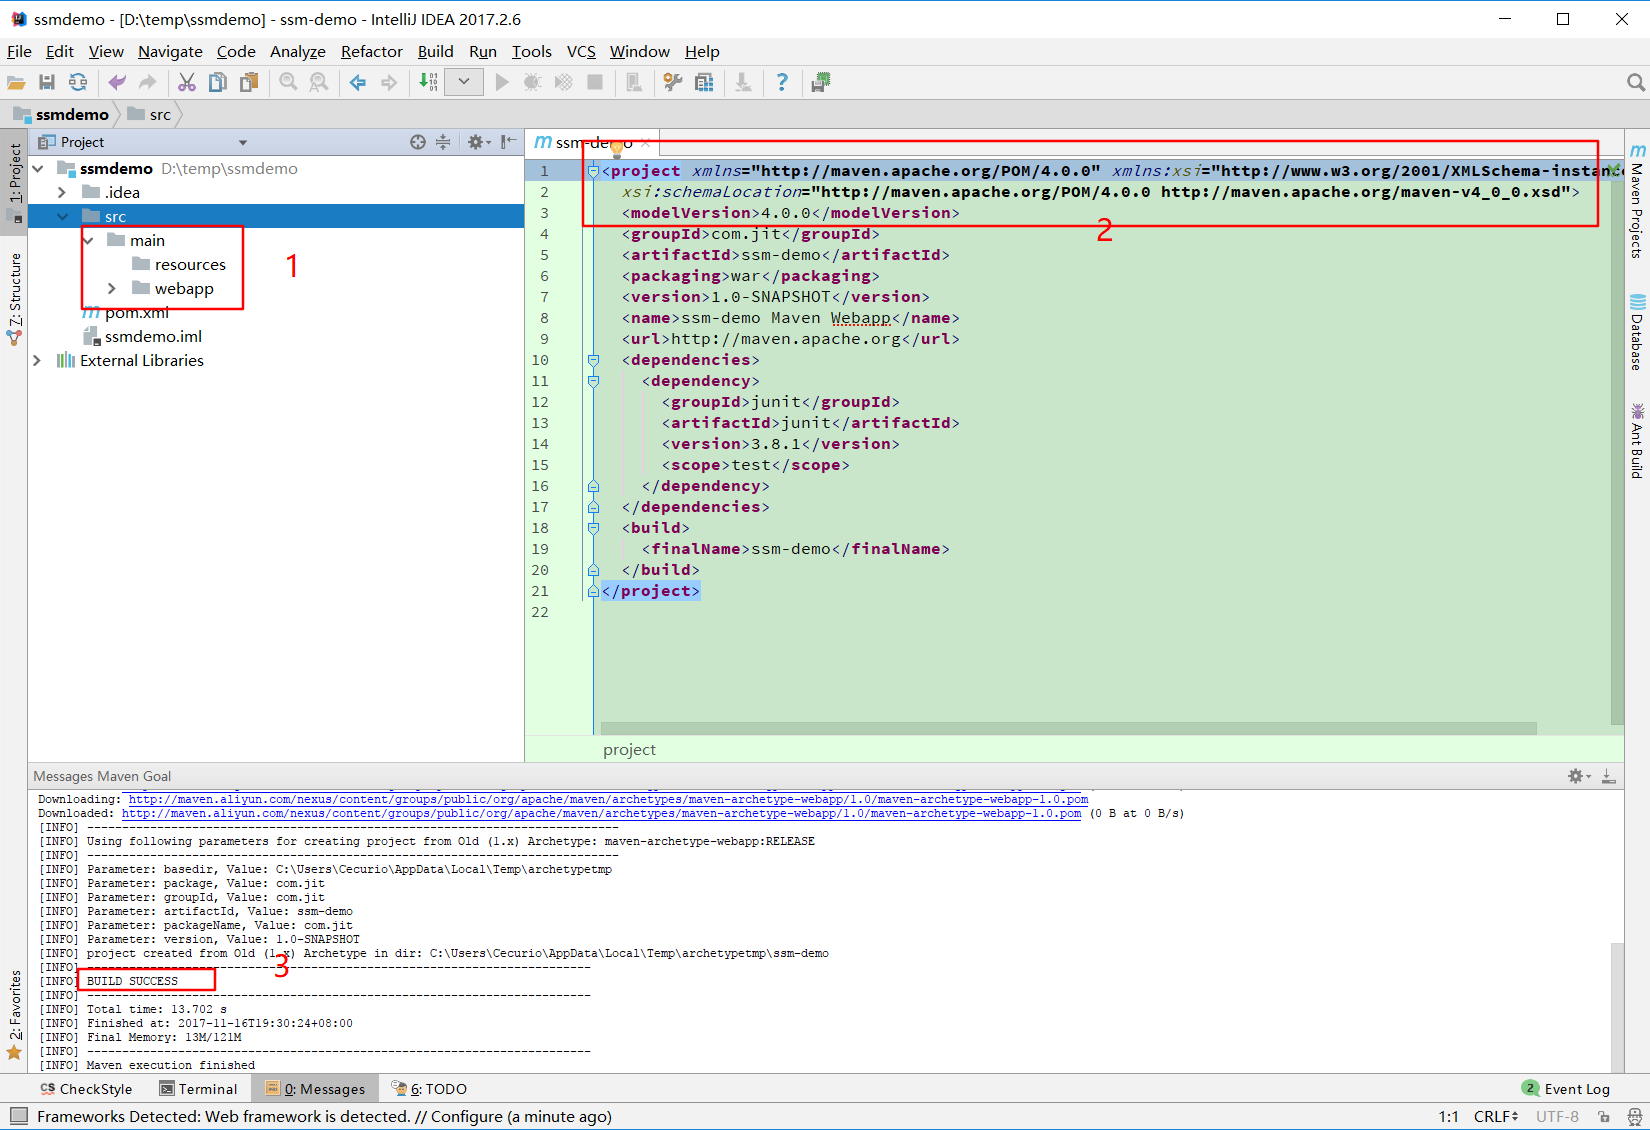
IDEA自动生成的项目骨架
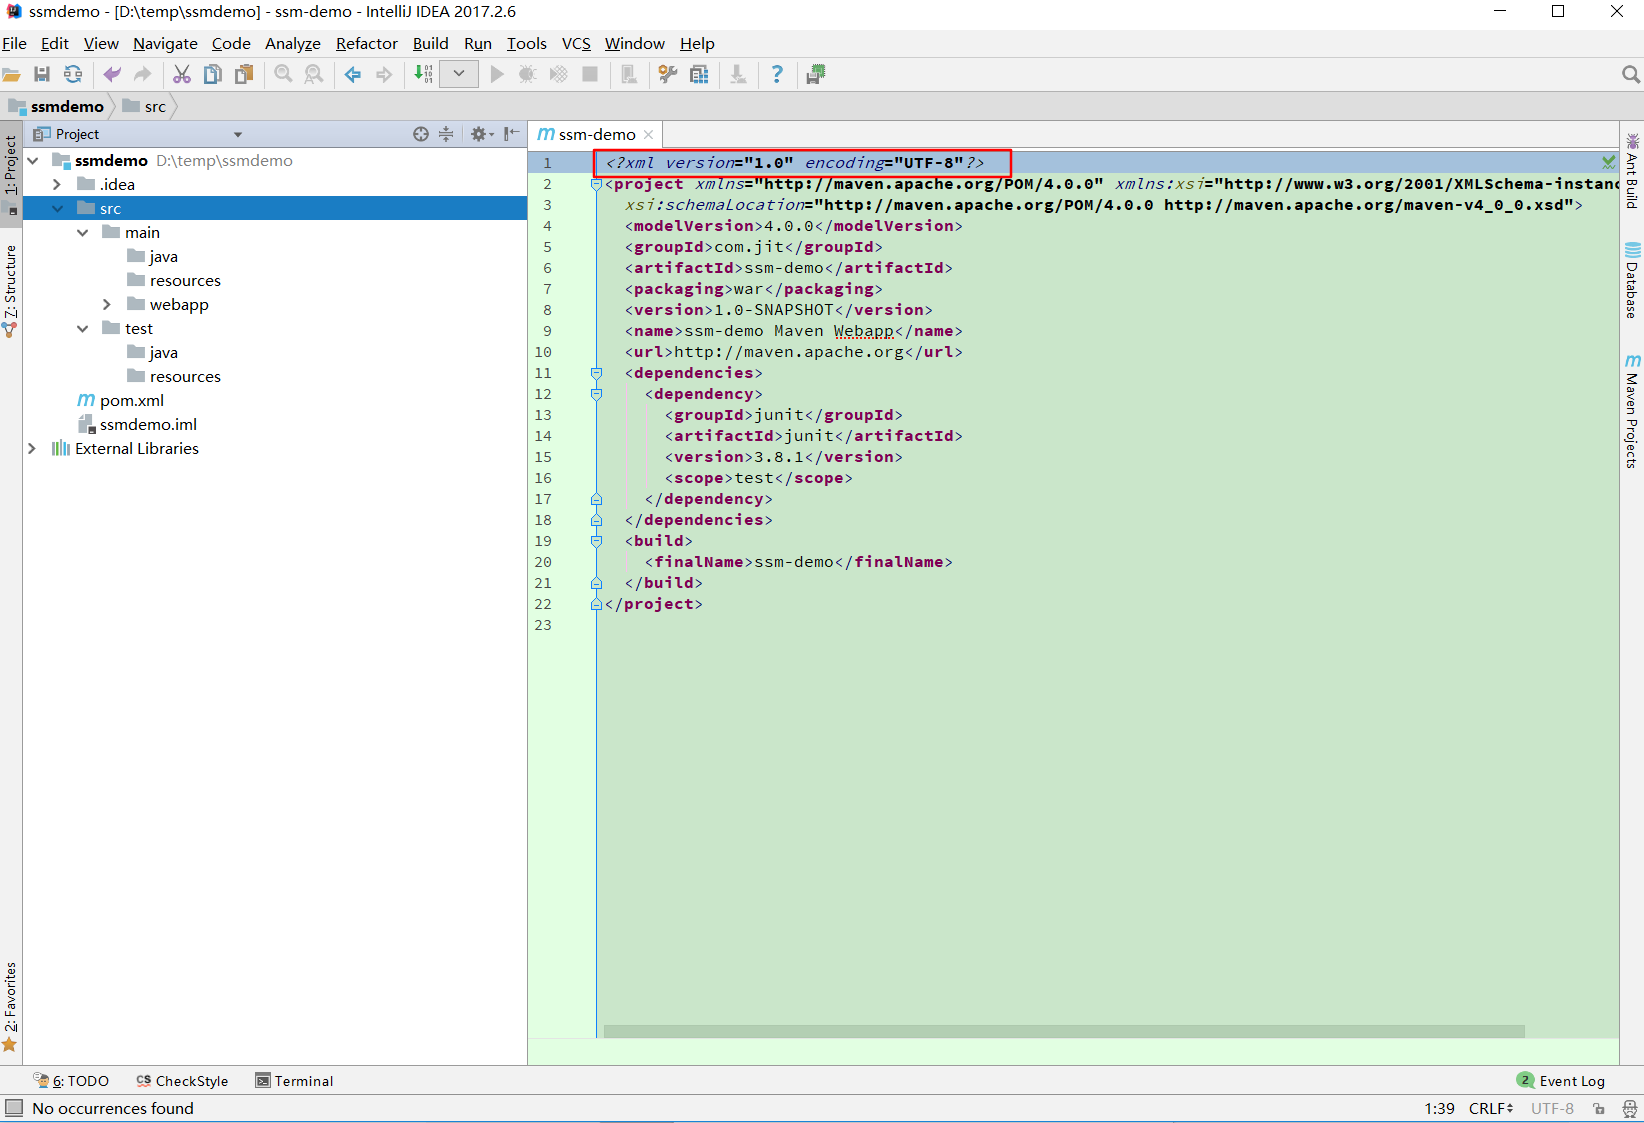
修改项目
在pom.xml里面添加xml文件头 <?xml version="1.0" encoding="UTF-8"?>
补全的Maven项目目录结构
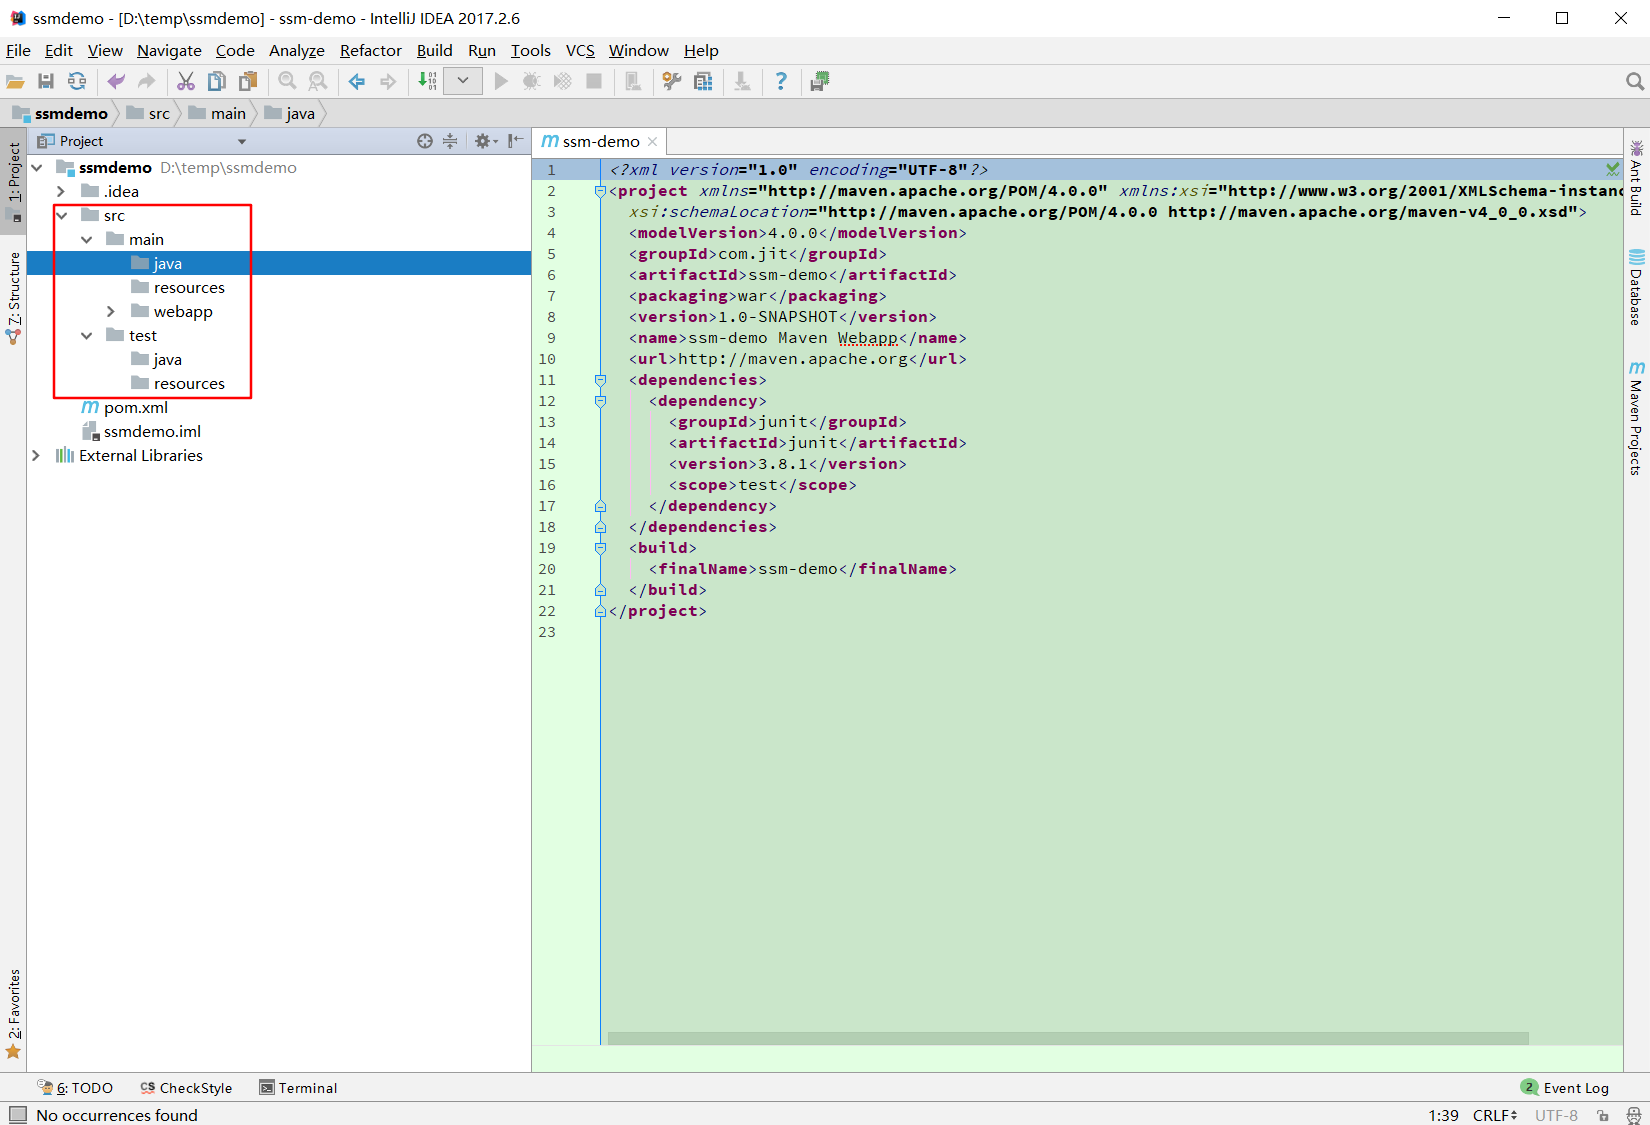
标记各个目录
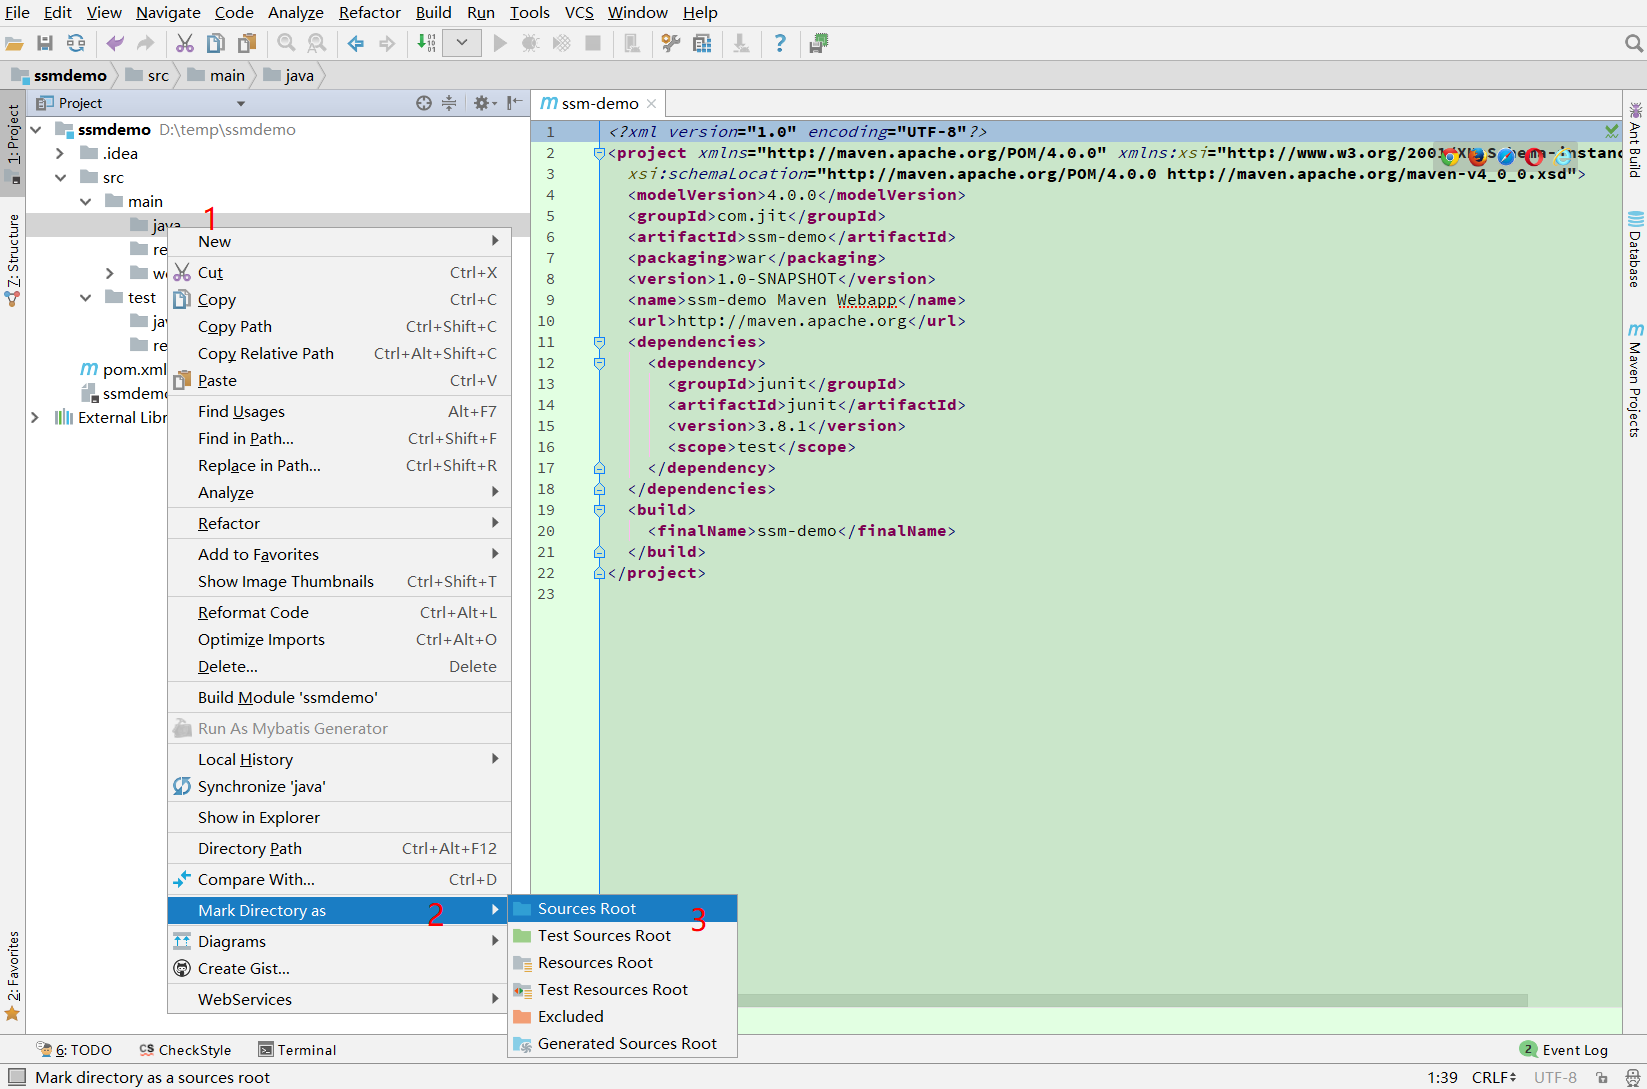
把src/main/java目录标记为Sources Root,把src/main/resources目录标记为Resources Root,把src/test/java目录标记为Test Sources Root,把src/test/resources目录标记为Test Resources Root
如果不把src/main/java标记为Sources Root,就无法创建package,只能创建Directory
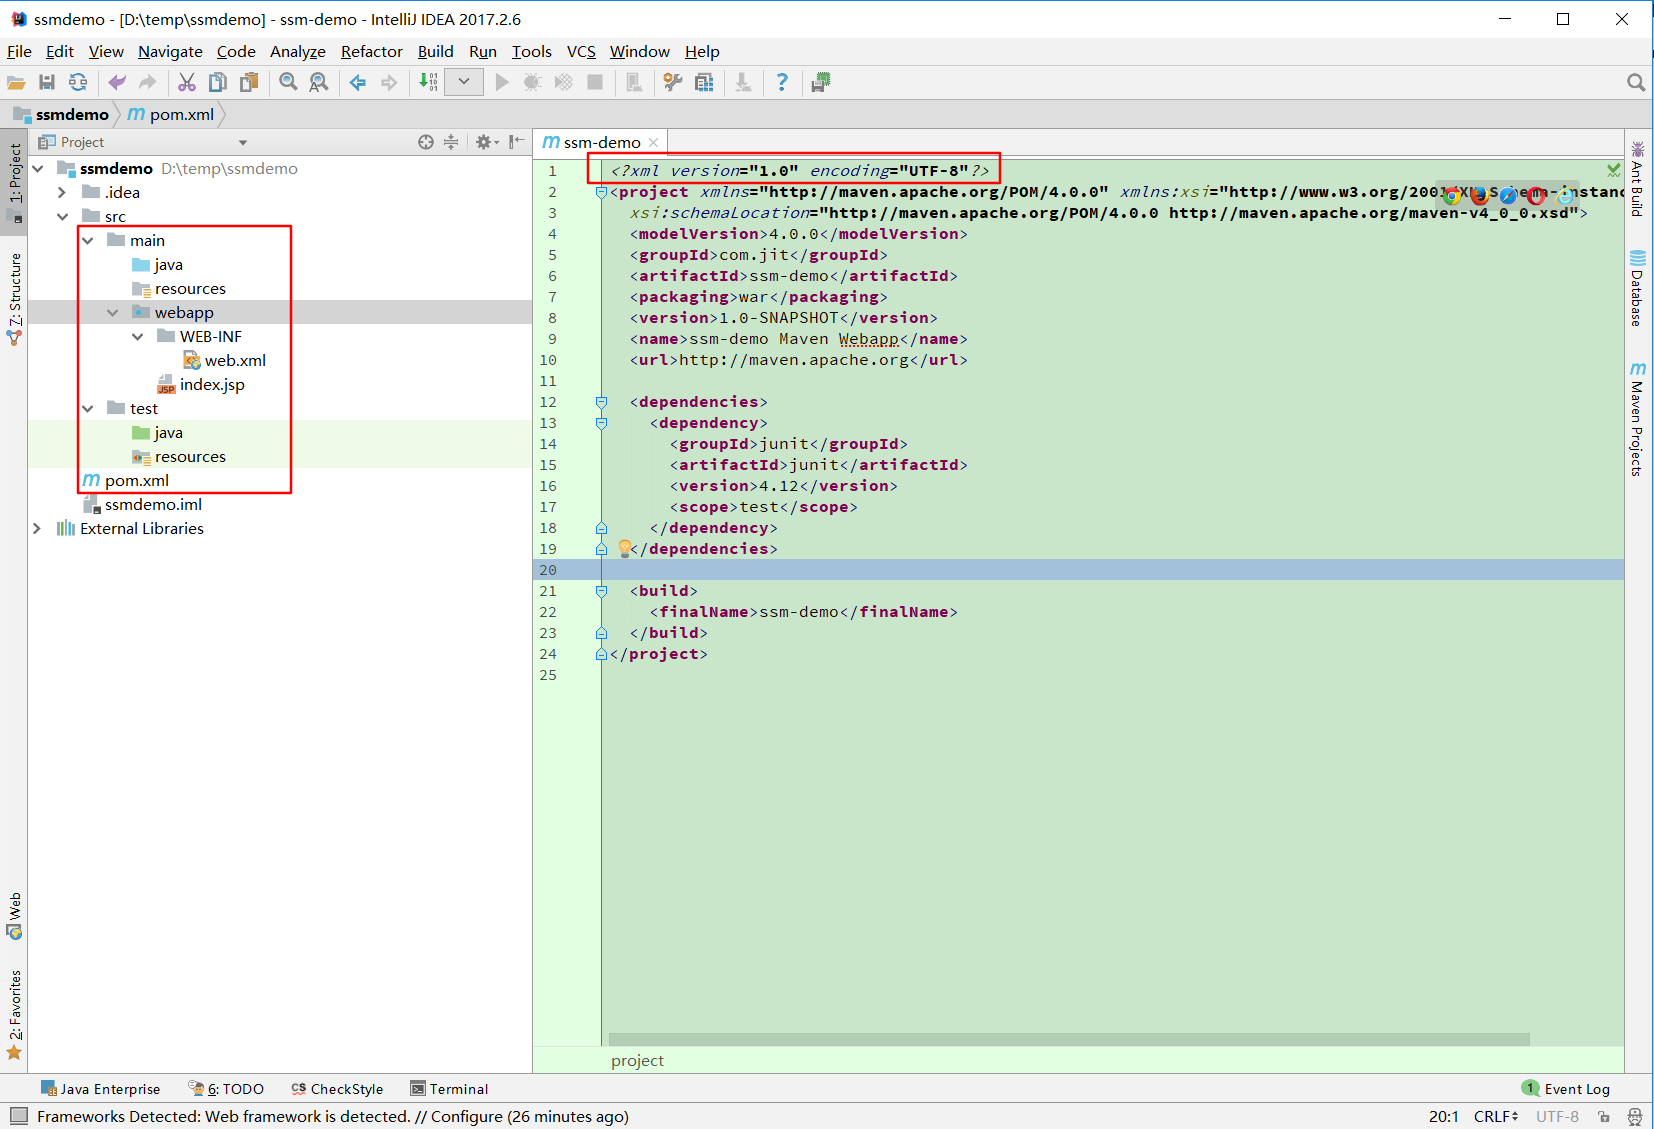
下面是标记完成后的效果图
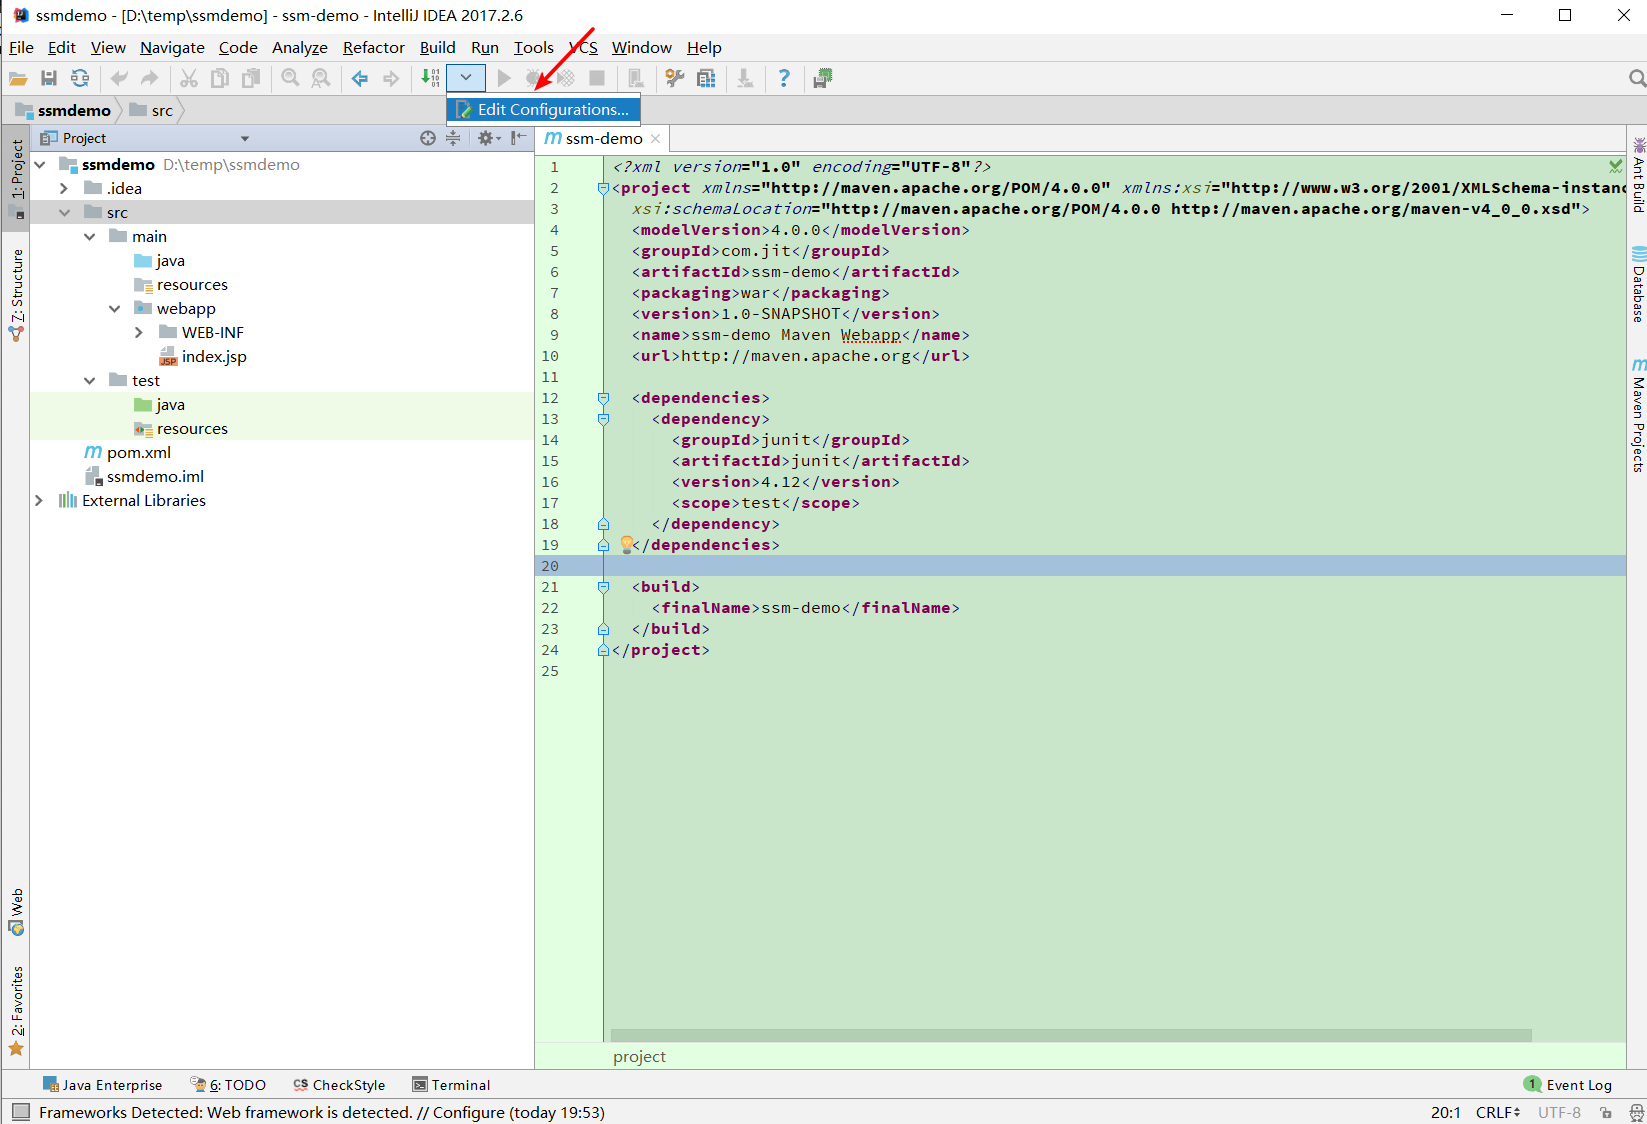
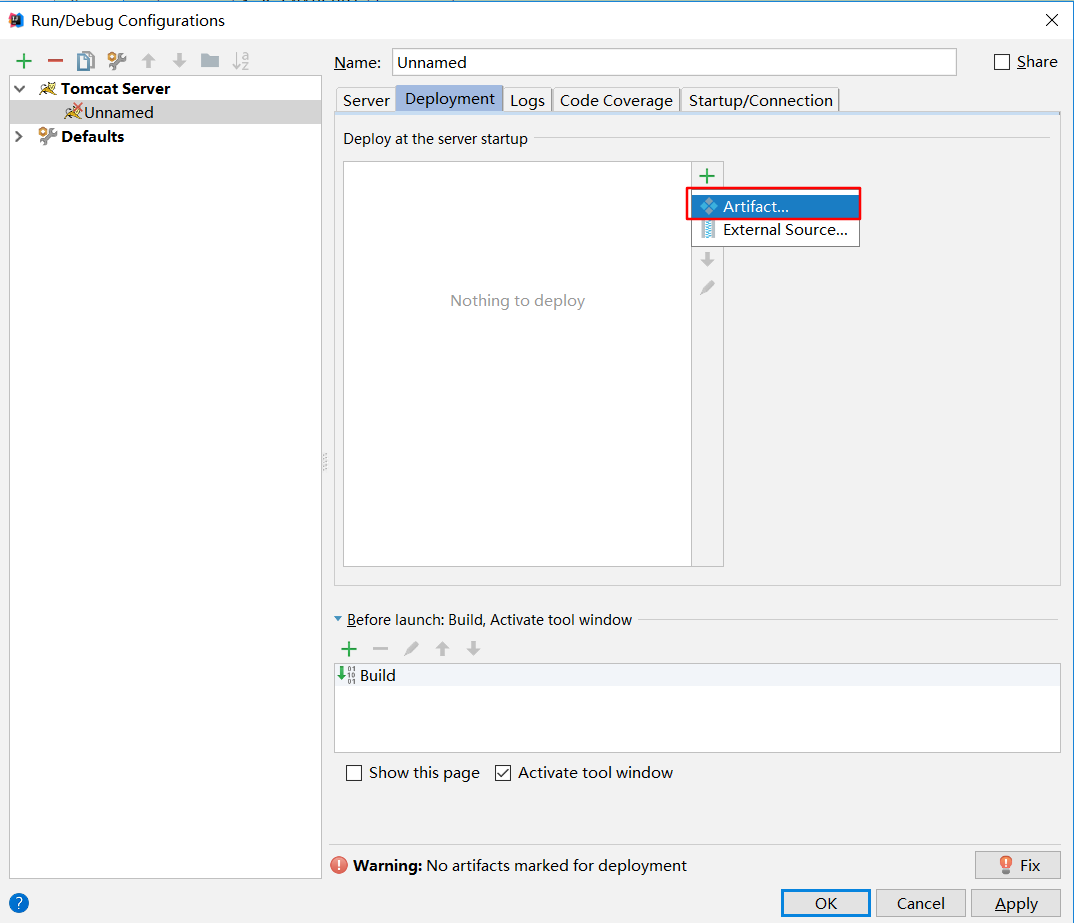
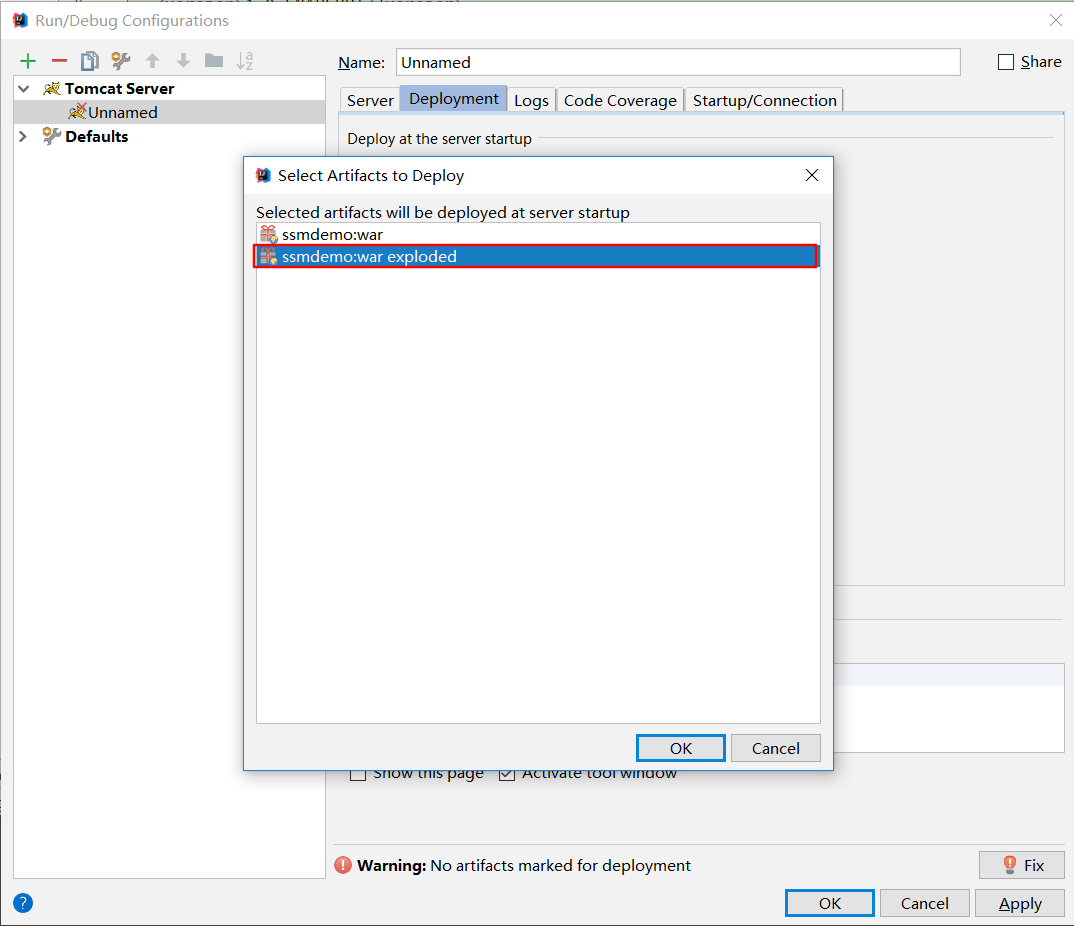
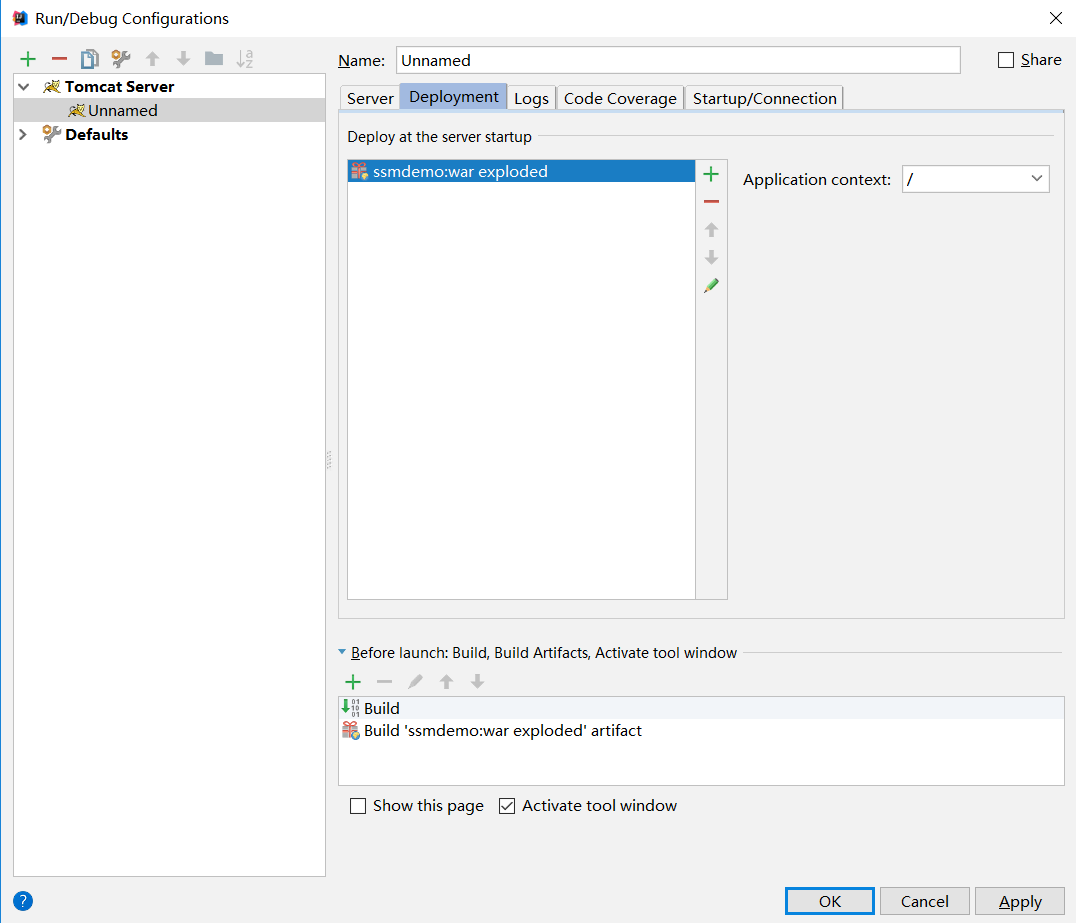
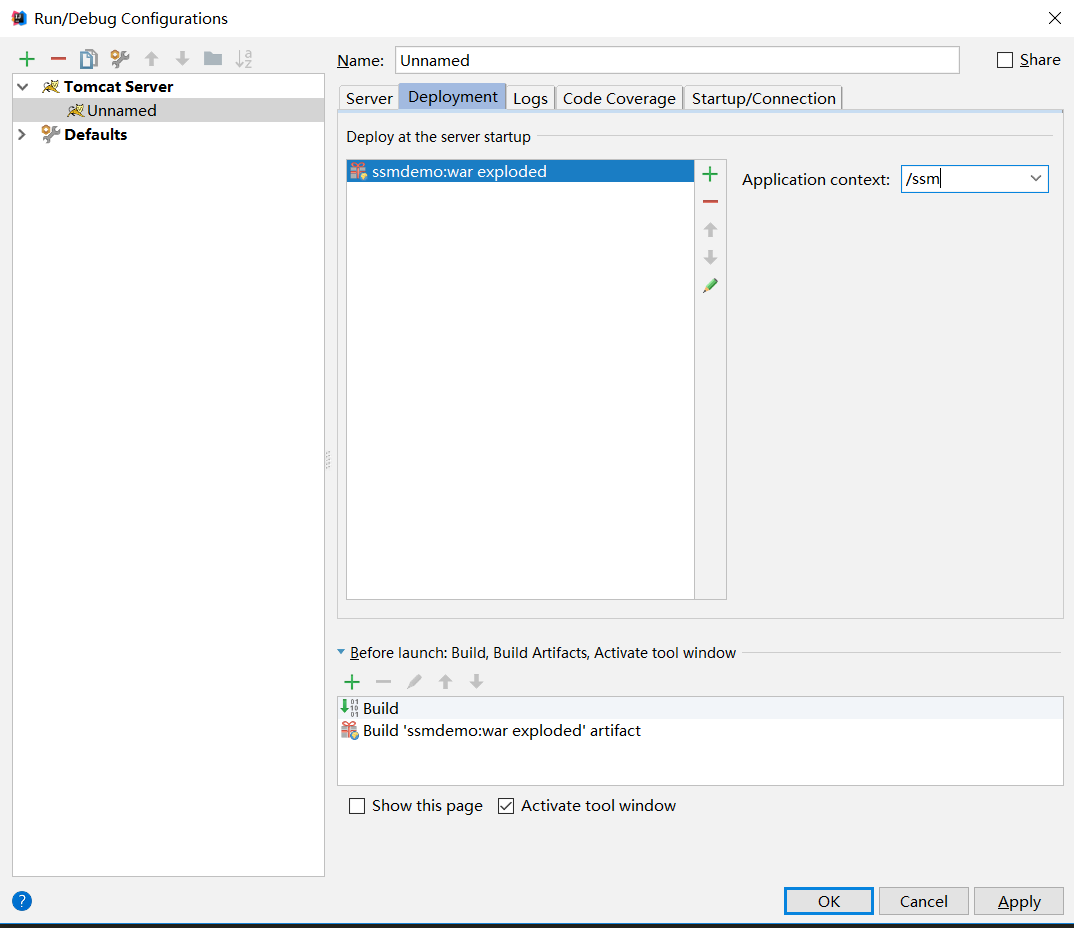
运行项目
编辑项目运行的配置
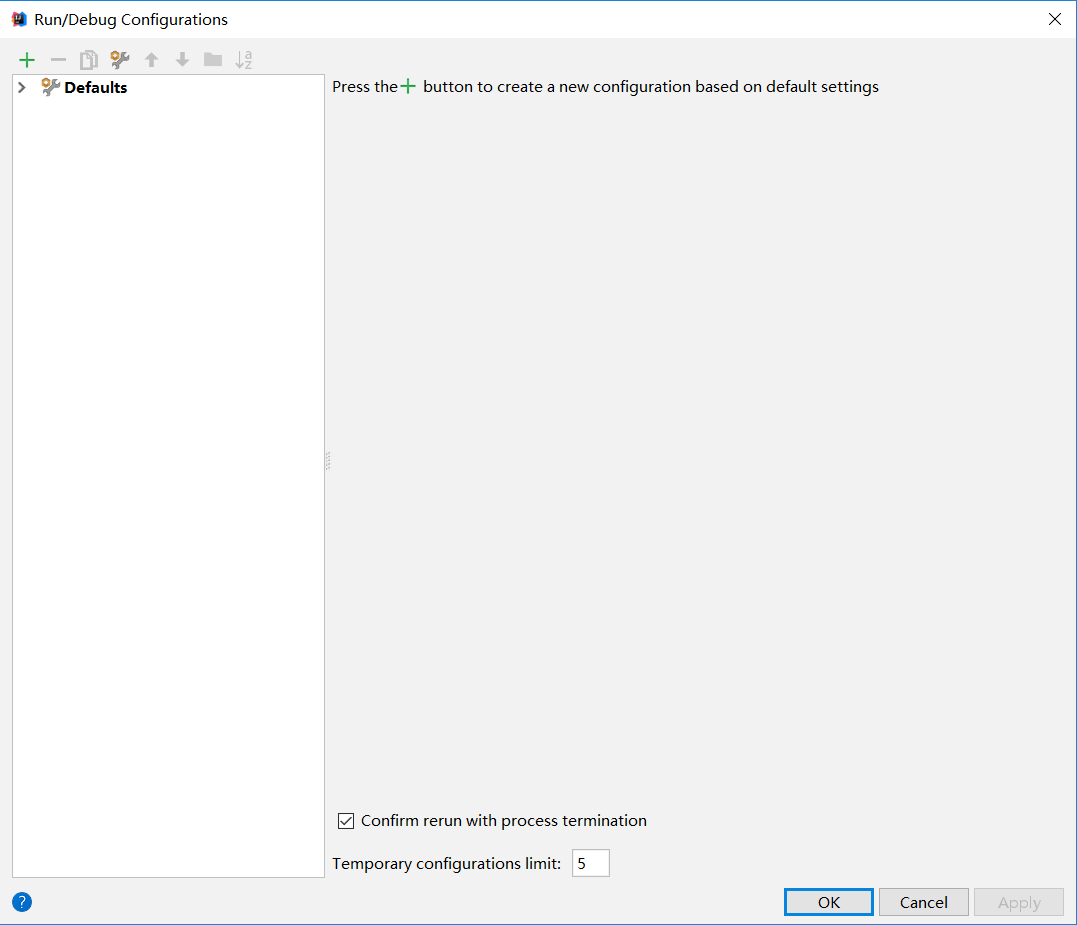
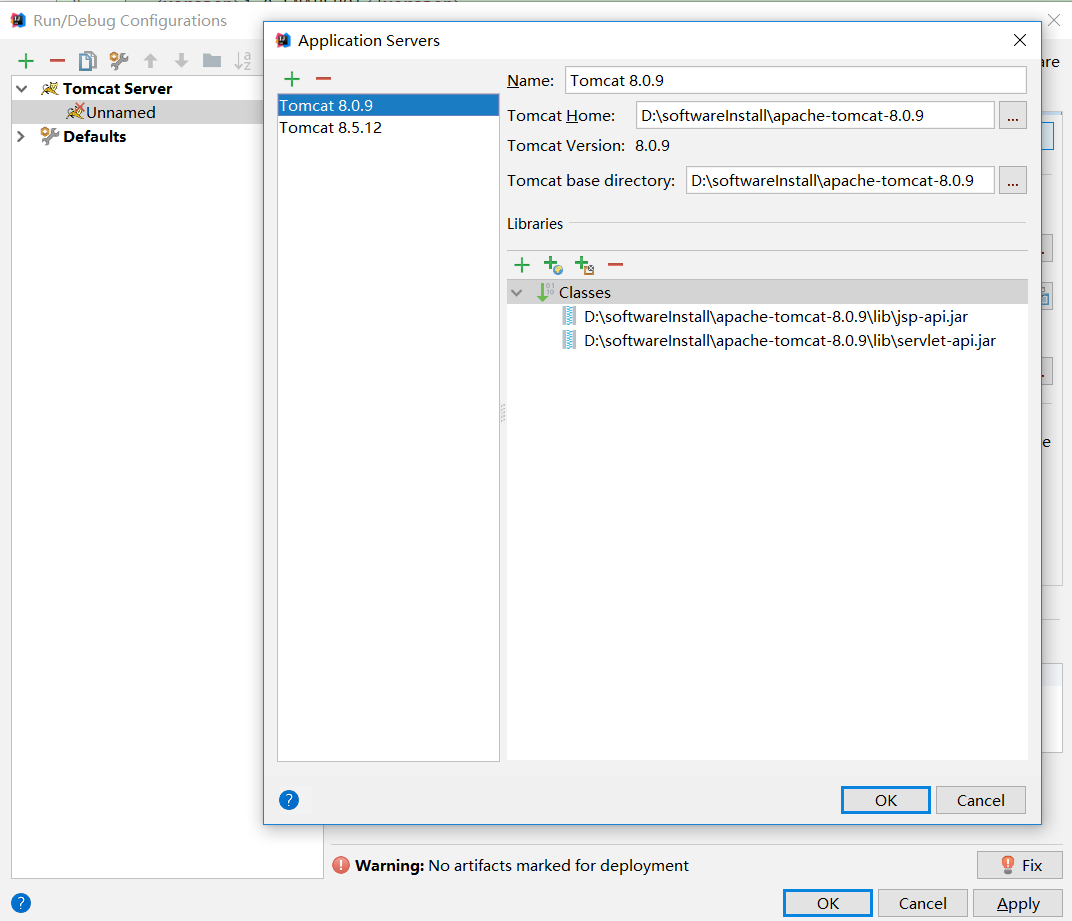
点击+号,添加本地的tomcat
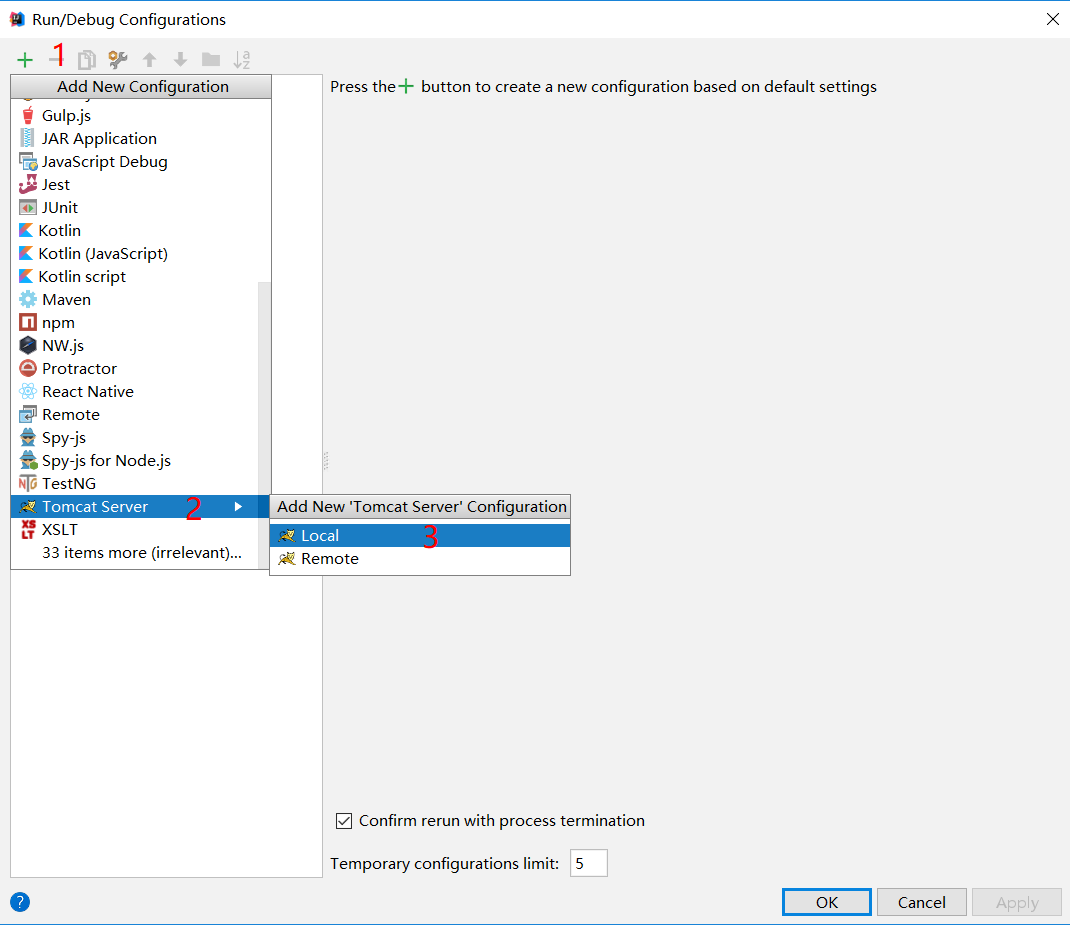
添加tomcat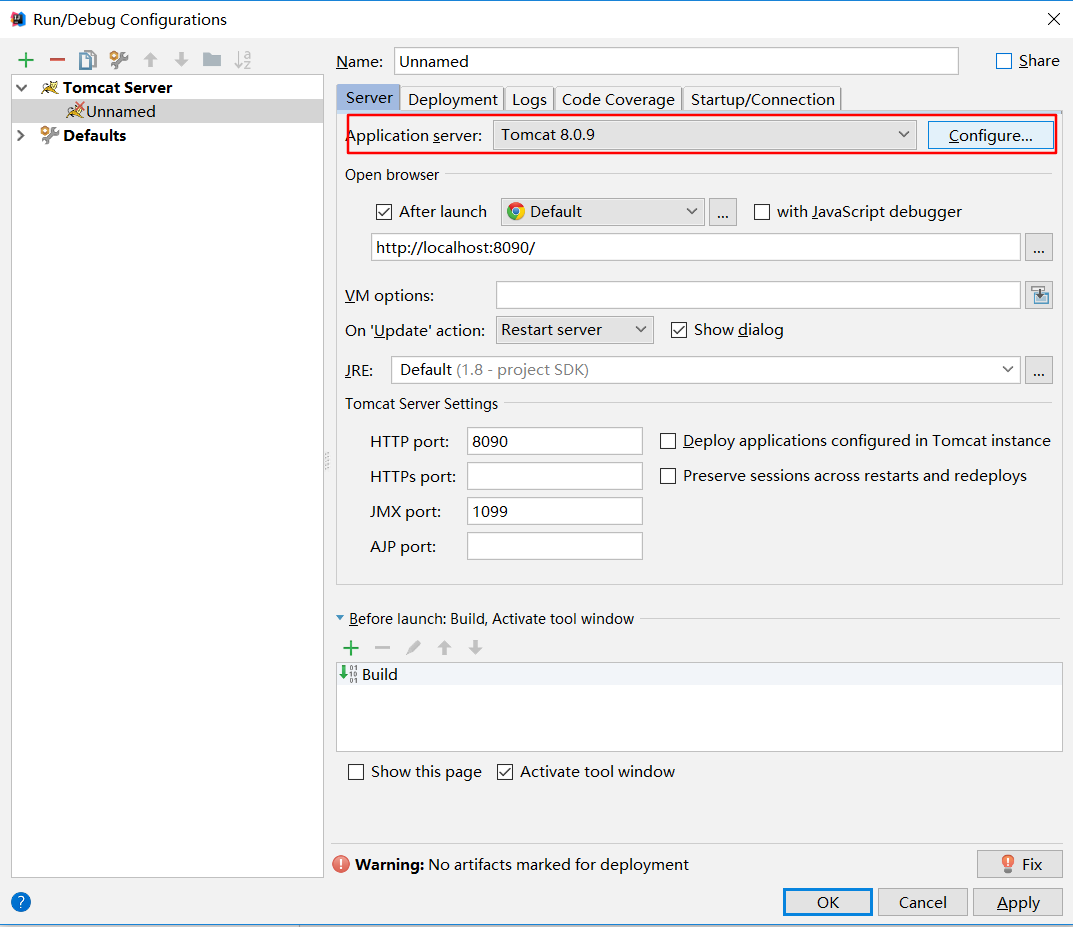
运行结果
启动一个web项目的过程
在启动一个web项目的时候,容器(比如Tomcat、Jetty)会去读它的配置文件web.xml 读两个节点:
<listener></listener>和<context-param></context-param>容器创建一个ServletContext,这个web项目所有部分都将共享这个上下文
容器将
<context-param></context-param>转化为键值对,并交给ServletContext容器创建
<listener></listener>中的类实例,即创建监听在监听中会有contextInitialized(ServletContextEvent args)初始化方法,在这个方法中执行
this.servletContext = servletContextEvent.getServletContext();,从而获得ServletContext。context-param的值 = ServletContext.getInitParameter(“context-param的键”); 问:一个web项目能不能设置两个Listener?得到这个context-param的值之后,你就可以做一些操作了。注意,这个时候你的web项目还没有完全启动完成。这个动作会比所有的Servlet要早。换句话说,这个时候,你对
<context-param></context-param>中的键值对所做的操作,将在你的web项目完全启动之前被执行举个栗子,你可能想要在项目启动之前就打开数据库,那么你可以在
<context-param></context-param>中设置 数据库的连接方式,在监听类中初始化数据库的连接这个监听是自己写的一个类,除了初始化方法,它还有销毁方法(用于关闭应用前释放资源,比如:数据库连接的关闭)
JavaEE、SSM中一些概念与重要文件的释义
context-param
该元素用来声明应用范围(整个WEB项目)内的上下文初始化参数
param-name 设定上下文的参数名称。必须是唯一名称
param-value 设定的参数名称的值
如何使用
页面中
${initParam.contextConfigLocation}
Servlet中
String paramValue=getServletContext().getInitParameter(“contextConfigLocation”);
context-param和init-param区别
第一种参数在servlet里面可以通过getServletContext().getInitParameter("paramName")得到
第二种参数在servlet里面可以通过getInitParameter("paramName")取得
Listener、Servlet、Filter
注意Listener和servlet的区别,加载优先级是Listener大于servlet,同时两者性质也不同,Listener的操作是对一个事件对象的监听,而servlet和filter比较类似,是对于URL的一种匹配拦截。
applicationContext.xml
顾名思义,是应用上下文、全局的配置。其启动配置一般在web.xml的Listener节点中
org.springframework.web.context.ContextLoaderListener 默认加载/WEB-INF/applicationContext.xml文件
可以有两种方式配置它
第一种方式
applicationContext.xml放在[maven-webapp-project]/src/main/java/webapp/WEB-INF/文件夹下,然后在web.xml中配置
|
|
第二种方式
applicationContext.xml放在[maven-webapp-project]/src/main/java/resources/文件夹下,然后在web.xml中配置
|
|
指定contextConfigLocation的值的时候,要加classpath修饰,表示在类路径下查找文件,不然将会抛出java.io.FileNotFoundException异常
修改web.xml
web.xml 文件提供有关包含 Web 应用程序的 Web 组件的配置和部署信息。
Java Servlet 规范根据 XML 模式文档来定义 web.xml 部署描述符文件。为了获取向后兼容性,Web 容器支持任何写入 Servlet 2.2 或更高版本且在 WebSphere® Application Server 的先前版本中工作的 web.xml 文件。
web.xml 文件必须位于 Web 应用程序所在的目录层次结构上下文下的 WEB-INF 目录。
修改web.xml中的配置为:
|
|
在pom.xml中添加Servlet、jsp依赖
|
|
自定义一个Listener
listener在tomcat启动时就会被加载,可以用代码证明一下,自定义一个Listener
|
|
然后在web.xml中配置
|
|
启动项目,控制台的输出表明listener在应用启动的时候被加载了

添加DispatcherServlet的配置
|
|
servlet-name随意命名,但是servlet和servlet-mapping里的名字要一致。
在servlet的配置当中,<load-on-startup>1</load-on-startup>的含义是:标记容器是否在启动的时候就加载这个servlet。当值为0或者大于0时,表示容器在应用启动时就加载这个servlet;当是一个负数时或者没有指定时,则指示容器在该servlet被选择时才加载。正数的值越小,启动该servlet的优先级越高。
在spring-servlet.xml文件中的配置
|
|
需要注意的是 schemaLocation 的设置一定要正确,一个schema对应一个xsd文件,如果缺少的话,就会报
通配符的匹配很全面, 但无法找到元素 context:component-scan 的声明的错误~教训啊
定义一个Controller,检验配置是否正确
|
|
必须pom.xml要添加以下依赖包,用于json转换;<mvc:annotation-driven/>也要开启。否则,在浏览器中访问地址,会出现The resource identified by this request is only capable of generating responses with characteristics not acceptable according to the request "accept" headers.这个错误
|
|
在spring-servlet.xml添加如下配置
|
|
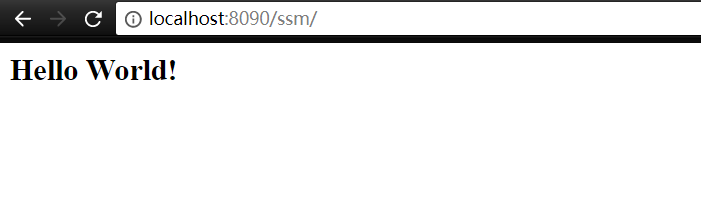
输出结果如下:

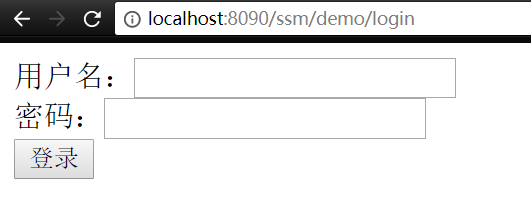
验证视图解析器是否正确
在webapp/WEB-INF/文件夹下创建一个文件夹view,然后在webapp/WEB-INF/view下面创建login.jsp文件
|
|
在cn.cecurio.controller.DemoController类中添加如下代码:
|
|
结果如下:
自己定义配置类,专门映射页面
上述映射页面的方法,可行是可行,但是页面如果多了,就会很繁琐,有更简单的方式
自定义Config
在src/main/java/cn/cecurio/config文件夹下新建类WebMvcConfig
|
|
要添加@EnableWebMvc、@Configuration注解,用于告诉spring我是一个配置类,请加载我,并按照我的配置去做
在spring-servlet.xml中添加配置
|
|
告诉spring,要扫描我的这个自定义的包
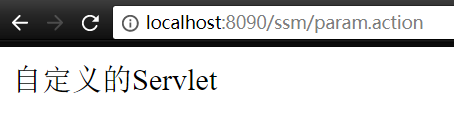
自定义一个Servlet
用于测试init-param context-param的加载与作用域
|
|
在web.xml文件中配置
|
|
输出结果:
|
|
数据访问的配置
数据源配置
数据源 会话工厂 mapper.xml与接口的对应
applicationContext.xml中如下配置:
|
|
jdbc.properties如下配置
|
|
增删改查
增
|
|
useGeneratedKeys="true" keyProperty="userId" 指明主键,返回自增的ID
参考链接
(感谢以下文章的作者)
http://blog.csdn.net/wlwlwlwl015/article/details/48134763
http://www.cnblogs.com/hzj-/articles/1689836.html
http://zeusjava.com/2015/09/12/maven-springmvc-demo/
http://www.cnblogs.com/tanglc/p/3664795.html
http://blog.csdn.net/qq_26819733/article/details/76064320
http://blog.csdn.net/liaoxiaohua1981/article/details/6759206